How to Add Music on Flipaclip?
Animation is a wonderful art form that allows artists to bring their ideas to life through visuals and motions. And one of the most popular apps that helps them to create 2D frame-by-frame animations is Flipaclip. We all know that it is a very professional tool but one thing that I personally like is that they have a free audio library using which we can easily add music to our animation projects.
Whether you are animating a short film, a fun cartoon, or simply exploring your artistic ideas, a good sound can play a very important role in making your animations more engaging and impressive. So in this article, I am going to show you the exact process of adding audio, music, and sound effects in your Flipaclip project.
How to Add Music on Flipaclip?
I know you are very excited to know the exact process but before diving further let’s see one example and how it will help you.
Example:- Imagine you have created a short animation of a flying bird over a sunrise. However, the animation alone looks very beautiful but adding music to this scene can really help in elevating the emotion of the scene and make it more impactful for viewers. In such situations, Flipaclip can definitely allow you to enhance your animations’ mood, atmosphere, and visuals.
Note:- If you want to add sound to your animation for free then just go to “Add Audio“, watch an advertisement and then as a reward you unlock an option add your own music to it. Moreover, you can also download audio files from youtube and then add it to your flipaclip project.
1. Prepare Audio File
Before adding music to your animation, you need to get your audio ready. Flipaclip application majorly supports all the popular audio formats such as mp3, wav, m4a, aac, and mp4. To add them you can directly download the music tracks from online portals/websites or you can get them converted from youtube.
2. Open Your Project

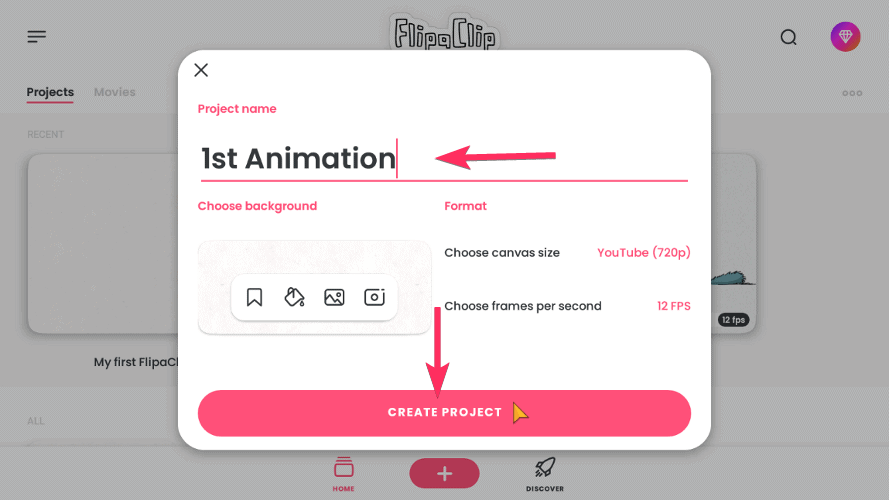
First, launch the flipaclip app and then open the animation project in which you want to add audio to it. If you don’t have created a project yet then just tap on “Create New Project” and select other options like canvas size, frame rate, etch.
3. Tap On Audio Icon

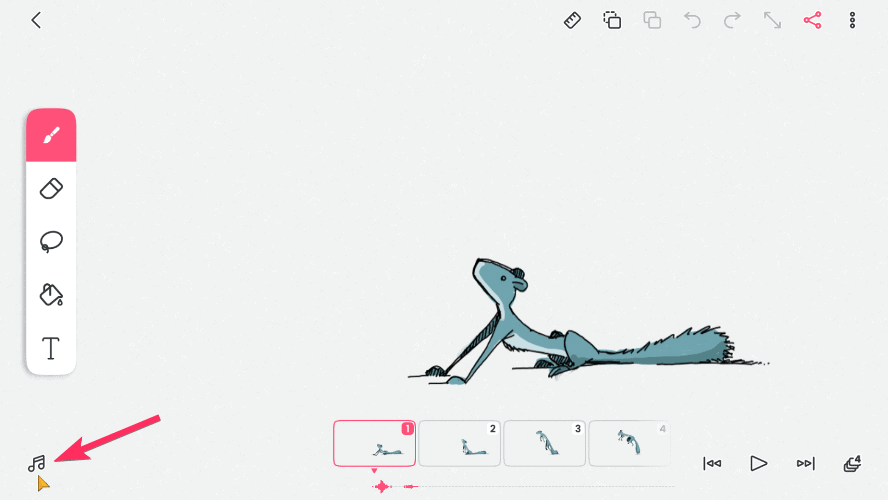
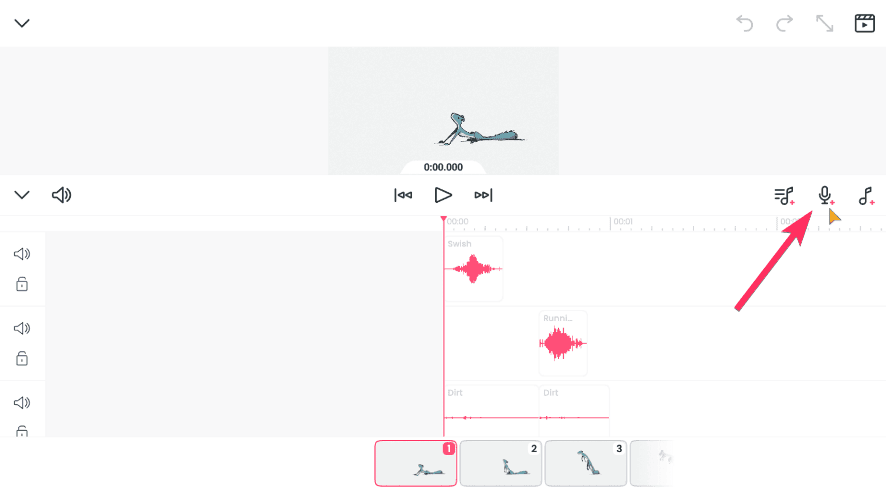
Once you have created or opened a project, tap on the “music note icon” which is present on the left hand side bottom corner. After that, the audio panel will open up and you get 3 options Saved audio library, Record voice, and Import audio files. Now select any option, locate the file and then add it to your animation.
4. Adjust and Sync Music

Once the music file is imported, you can adjust (trim, crop, shorten) the length of the audio clip according to your video timings. For better synchronization use the timeline feature present at the bottom of the screen, so that the music can sync perfectly with the visuals of your animation.
Some other features which you can use for editing the audio file are slicing, renaming, duplicating, deleting, etc.
5. Finalize & Export
Once your audio is fully syncronised with the video, tap on the play button and check if the changes you have made are matching with the animation. Now you can save your project and then finally press the Export button.
Tips for Adding Sound to Animations
- Keep it simple: Avoid overloading your animation videos with too many sound effects, voiceovers, and different musics.
- Storyboarding: It’s really important to plan out your whole animation, key scenes, audios and timing where should music change based on certain actions or scenes.
- Use relevant music: Good music selection plays a vital role in making your animation engaging and worth watching. So, it’s better to use audio according to different scenes such as funny, slow, dramatic, etc.
- Don’t overuse loops: However, the looping feature is very in various cases but using it repetitive times in a single animation video might distract vieweres. So, its great to only use when it is necessary.
- Always test on different devices: Once the final video is exported, it’s better to check and play it on different devices such as laptop, computer, iphone, ipad, android, tablet, etc.
Final Words
Although, adding music to your animations is a very straightforward process in Flipaclip but one should always focus on selecting the right type of music which totally relates and synchronises to the scenes. Because by doing this one thing correctly, you can make or break your whole animation video and can leave a great impact on your audience.


